 Home
Home Getting Started
 Help Center
 Developer
 Status
Why mark content as published?
The “Mark as published” button appears on every draft you work on in Semji. You should click on this button only after you’ve published your content online.
How to mark your content as published
Here are the steps to mark your content as published:Step 1: Copy your Semji content into your CMS
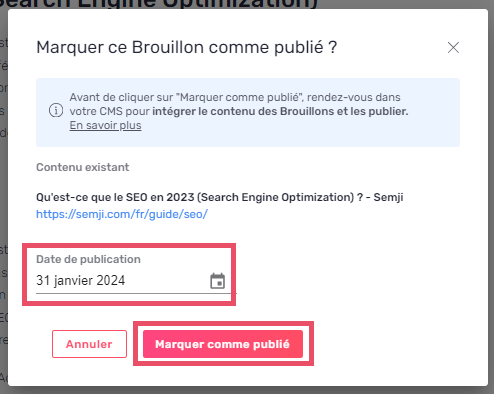
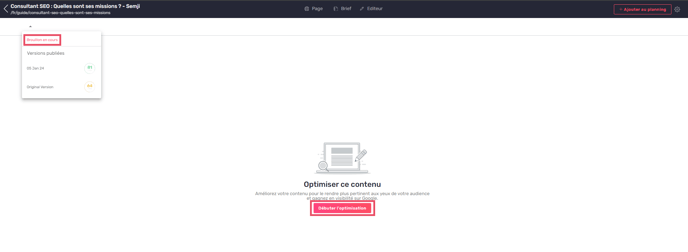
Once you’ve finished optimizing your content in the draft and reached the maximum Content Score of 75, you need to copy and paste this content into your CMS, i.e. your website editor: Wordpress, Magento, Drupal, Joomla, Wix, Shopify, Prestashop… If it’s existing content, integrating the new content version doesn’t change the url. However, you may need to modify the title and description tags, so that the content is better optimized for your main keyword. In the case of new content, you’ll need to create a new page, and integrate your editorial text, as well as any illustrative images. Enter an explicit URL, containing strategic keywords. Don’t forget to fill in the header tags to encourage clicks from the Google SERP. Don’t forget internal linking, and in particular “ingoing links”, i.e. links from other content to the content you’re integrating. To do this, edit the content and place the links on the appropriate anchors. Once the content has been integrated and meshed, publish it and check that it is visible online by displaying or refreshing its url in your browser. Step 2: Inform Semji that your article has gone live Return to Semji. In the draft of your content, accessible from the Planning tab, click on the “Mark as published” button. In the case of existing Content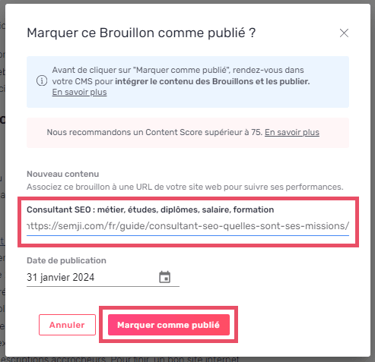
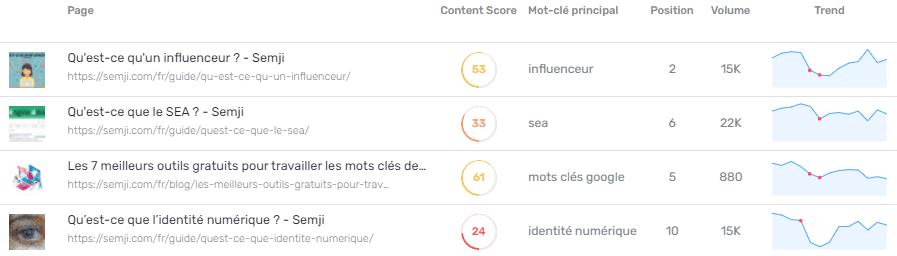
Good to know: a warning message appears if your Content Score is below 75. This may mean that you’re not giving yourself the best chance of success. Consider continuing to work on your content before publishing it definitively.This date is important: it will be indicated by a pink dot on your performance analysis curves. In this way, you can easily visualize the evolution of your KPIs: before / after your optimization work.
Good to know: If you get an error message telling you that the URL is already present in the Pages tab, here’s how to proceed.In the case of existing content Simply enter the exact publication date of your content.
As existing content, the URL of your content is already filled in.